Capturing Supplier Histories
To further support our consultants and end-customers, the Energy.Hub has introduced a new feature that holds supplier histories within the Site CRM and reports. Please see below the features and how to update in bulk and per meter.
Supplier History – Site CRM
To update a new supplier via the Site CRM screen, navigate to Sites >> View Site List >> Enter a single meter by clicking on a site name >> Services Tab.
To make any changes unlock the page by pressing the lock symbol in the top right-hand corner, this page will now be editable. Once the page is editable, navigate to the ‘Supplier’ box and click the ‘pencil’ on the right-hand side.

A Pop-Up titled ‘Supplier Data History’ will appear. To create a new supplier, enter the date into the ‘Valid to’ input section for the supplier
A new row will appear where you can create a new supplier, ‘Valid from’ and ‘Supplier Name’ are mandatory fields. Once complete, Press Save.
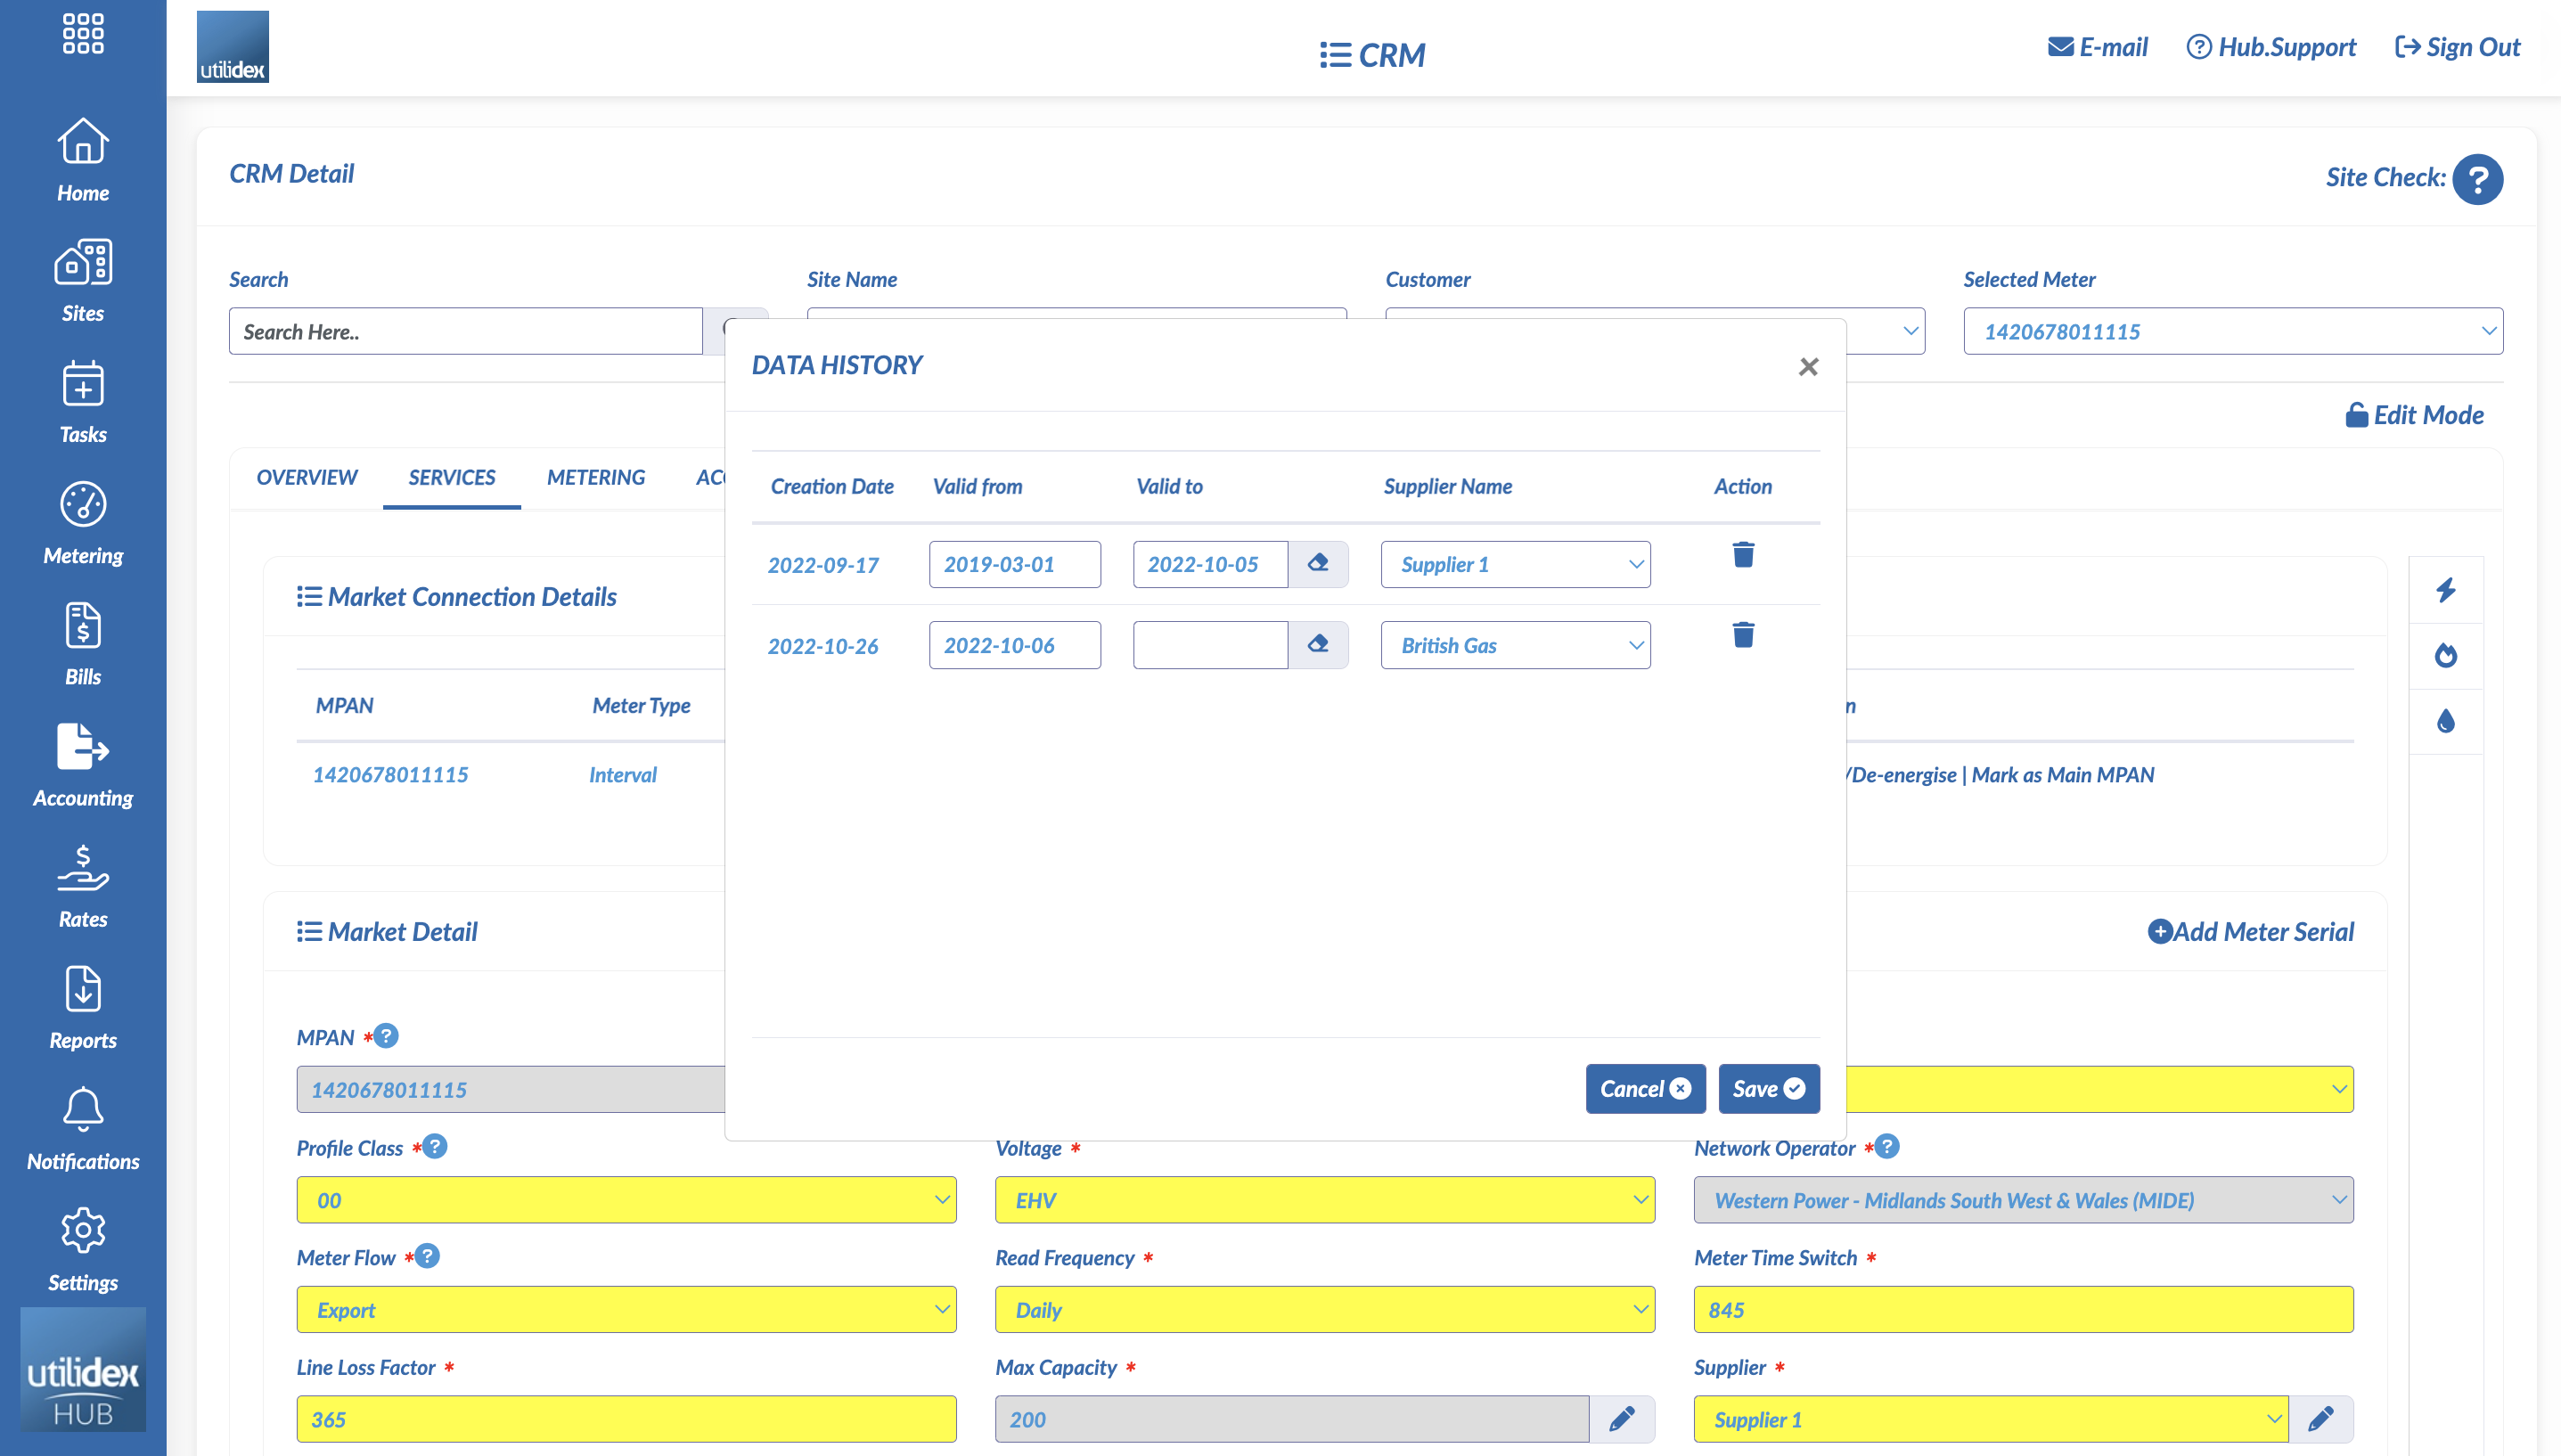
To note, the start date of the new supplier must be the day after the previous supplier’s valid to date. The supplier valid to and from date must be before the Connection End date of the meter.
Supplier History – Multi-site entry (bulk)
This section will explain how to update multiple suppliers and site reference information via the Multiple Site entry section. Making it easier to update large amounts of information.
Multiple Site Entry
To update Multiple Suppliers and Site References in bulk navigate to Sites >> Multiple Site Entry, select the ‘Action’ tab in the upper right-hand corner, and navigate to Versioning Updates >> Download Data. Once selected, a ‘Download Data’ Pop-Up Box will appear.

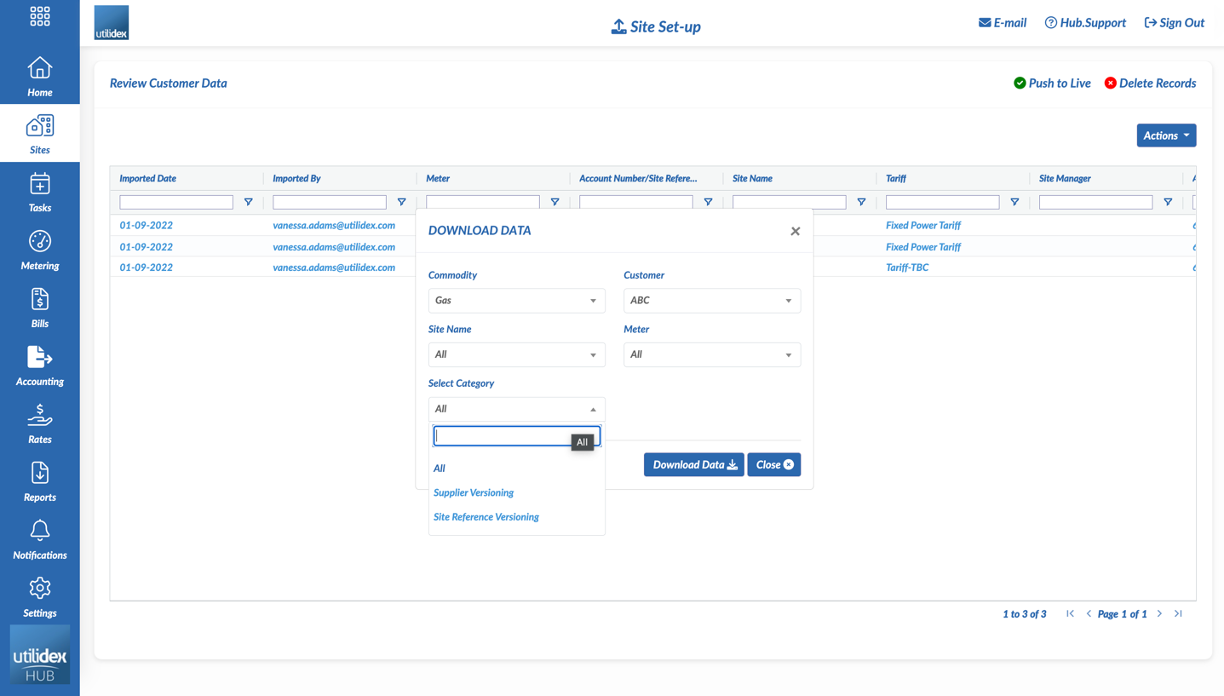
Filter by ‘Commodity, Group Name, Site Name, Meter, Select Category’ to download the data you want to update and press Download Data. An Excel spreadsheet will show the selected data and you will have the ability to make the necessary changes and re-upload.
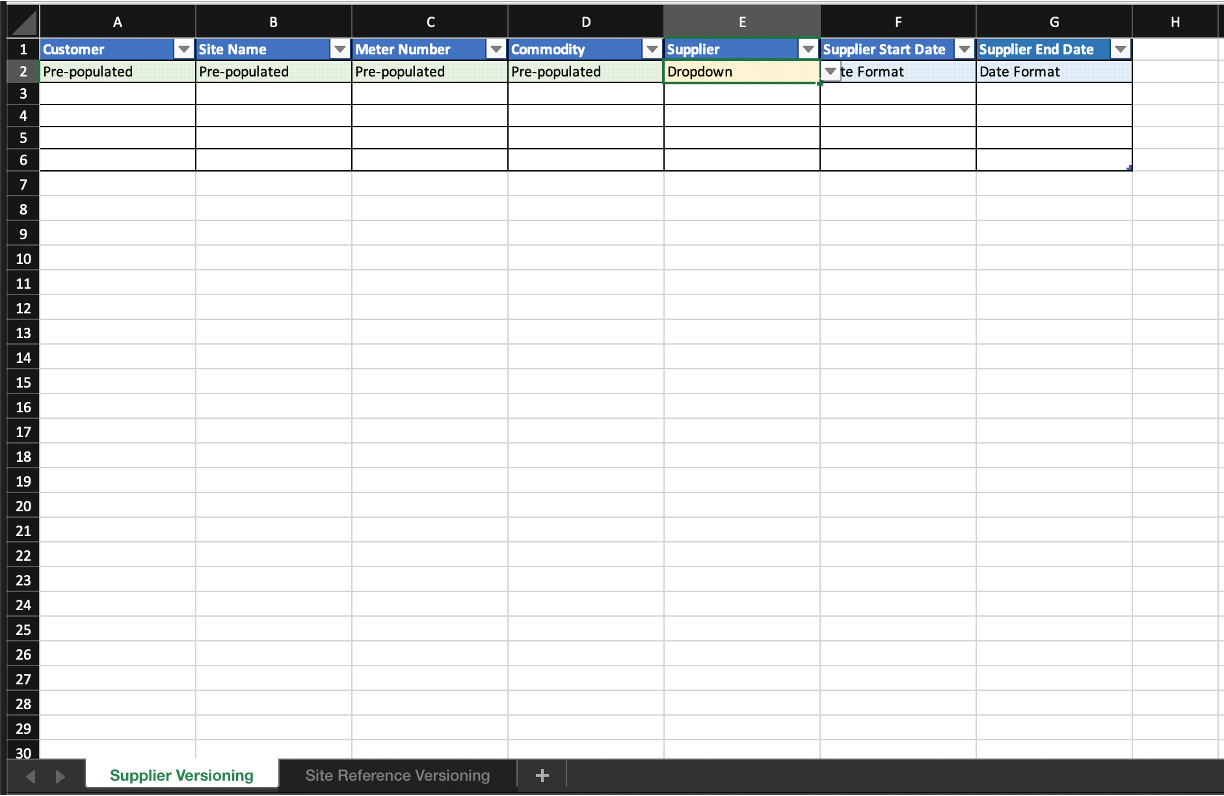
Once complete, upload the saved updated Excel file by navigating to Sites >> Multiple Site Entry. Click on the ‘Action’ tab in the top right-hand corner and navigate to Versioning Updates >> Upload Data. A pop-up box will appear, with the option request of ‘Choose file’, select the saved updated excel file, then click the ‘Upload’ icon.