At set-up, we’ll run through your validation settings with you, and help you configure the right items for you. This section helps explain some the key choices you have, and how they are mapped into the product.
Before you commence your validation settings, it is worth considering these key questions:
- Do you want to fully automate validation, or do you wish to check the system recommended outcome and decide yourself?
- If bills look wrong, do you normally have to pay them anyway and claim a credit back, or can you dispute the item straight away and not pay it?
- What value do you want to dispute – noting that the dispute process can be time consuming? In that it has an “admin cost” in that you need to raise a dispute and then track between yourself & the supplier. And are there any cases, where you would consider letting a bill pass – for instance if a £20,000 bill was £2 different.
Once you have these questions answered, you are ready to get set-up! You can find all the bill validation settings by navigating the main menu to Settings, My Company, Company and then selecting Validation Settings.

The key settings are explained below:
(a) Toggle between power & gas – you can configure different rules for power and gas, by using the dropdown.
(b) In-Tray mode – this is where you decide if you wish to have automated validation, or whether you wish to check yourself. Select yes if you want to check, or No if you want to fully automate. If you select yes, the system will show an “In-Tray” with suggested outcomes that you can then move to the right buckets (Pay, Not Pay, Pay and Query)
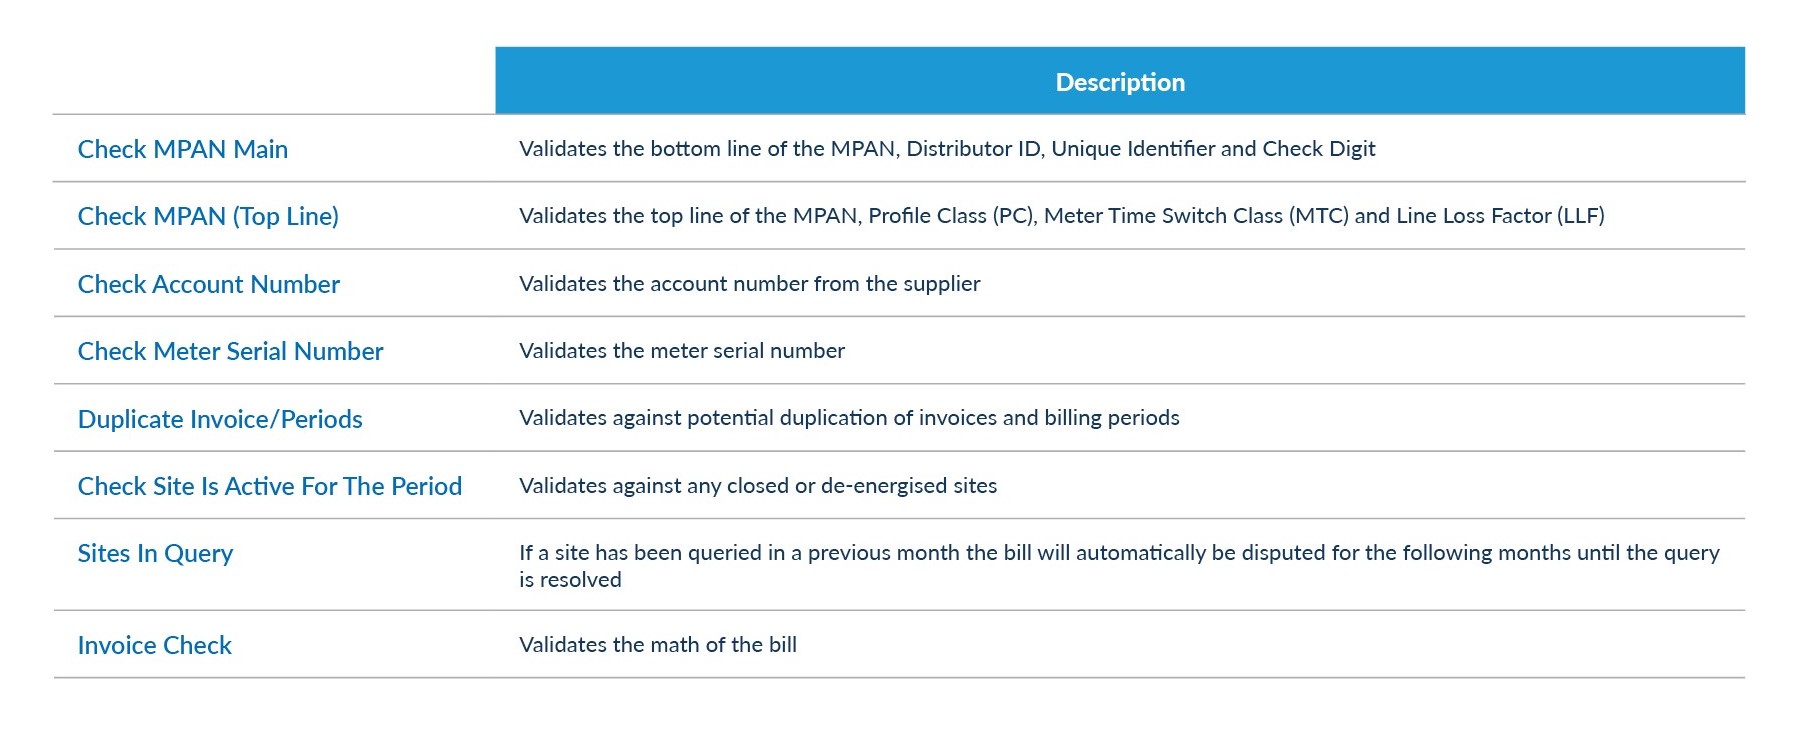
(c) The system performs over 14 different checks, ranging from MPAN, Meter Serial No Checks, to consumption and shadow bill checks (where the system generates a shadow bill and compares line items). You can elect to turn these checks on (yes/no) and decide whether they create a warning, or create the bill to be disputed.
(d) Consumption Checks and Shadow Bill Checks also have an additional setting being “Two Tier” and “Three Tier Checks”. This allows the user the option in a two tier check “anything over 5% dispute otherwise pay” or in a three tier check “between x and y % do this, and between x and y % do that, otherwise do this.
(e) We recognise that customers have different agreements with their suppliers, in terms of how they manage and handle disputes. Some customers have to dispute, but still pay the bill (we call these “pay and query”) and others are allowed to not pay the bill (we call this “not pay and query”).
You can change the settings of the Hub so you elect whether to pay or not. This is an important setting as it impacts two key areas – payments and credit notes. This setting, allows the Hub to determine whether to pay a bill and also whether to accept or net a credit note. If you have any questions on this area, please do not hesitate to contact your account manager.
(f) Golden Rule: – after all validation checks are set there’s and additional configuration the “Golden Rule” which effectively takes priority over all the rules in the system. Here you can set the tolerance for disputes – for instance only dispute items over £30 (value user definable) will be challenged through the bill validation process.
