Site Addition (Without Transfer)
There are 4 steps to the site addition process:
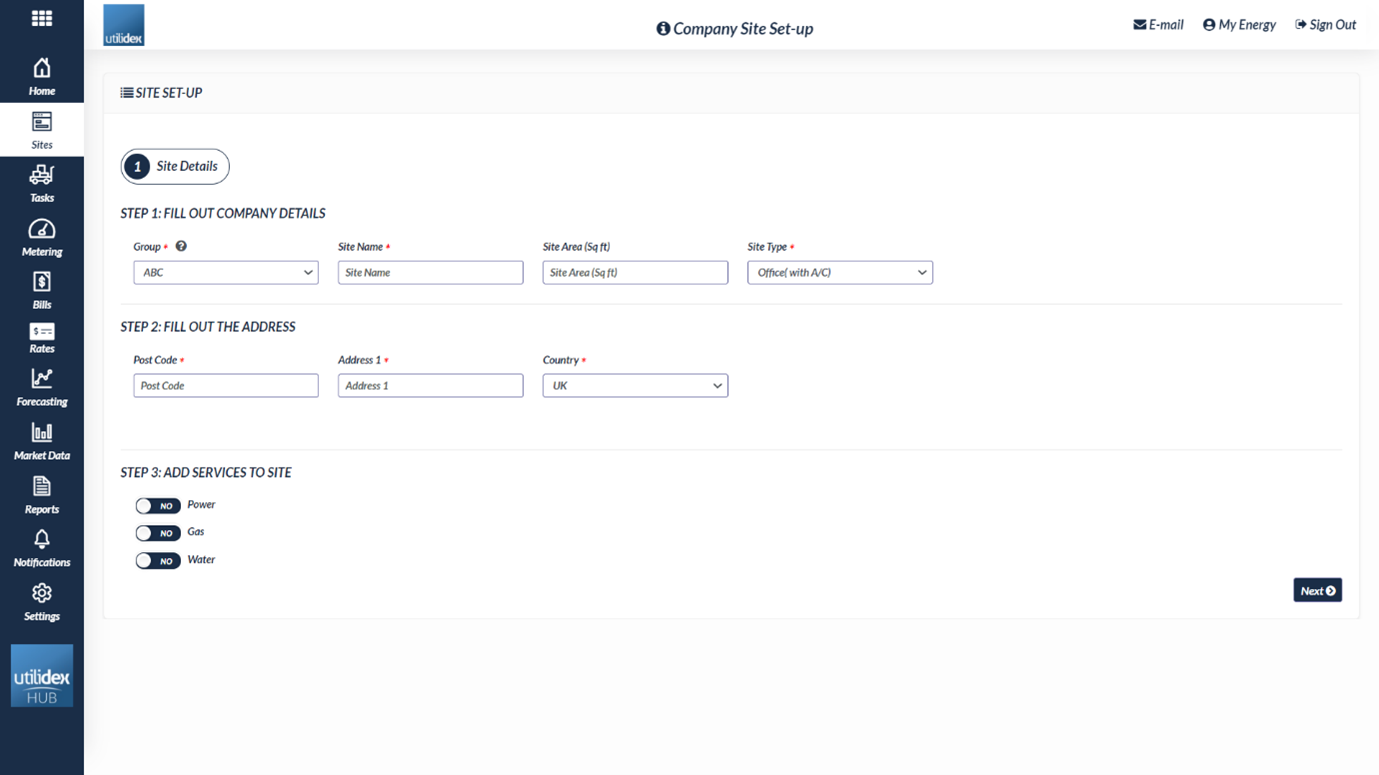
- Step 1 – Fill out Site Details
-
- Company Details
- Address
- Add Services to the Site
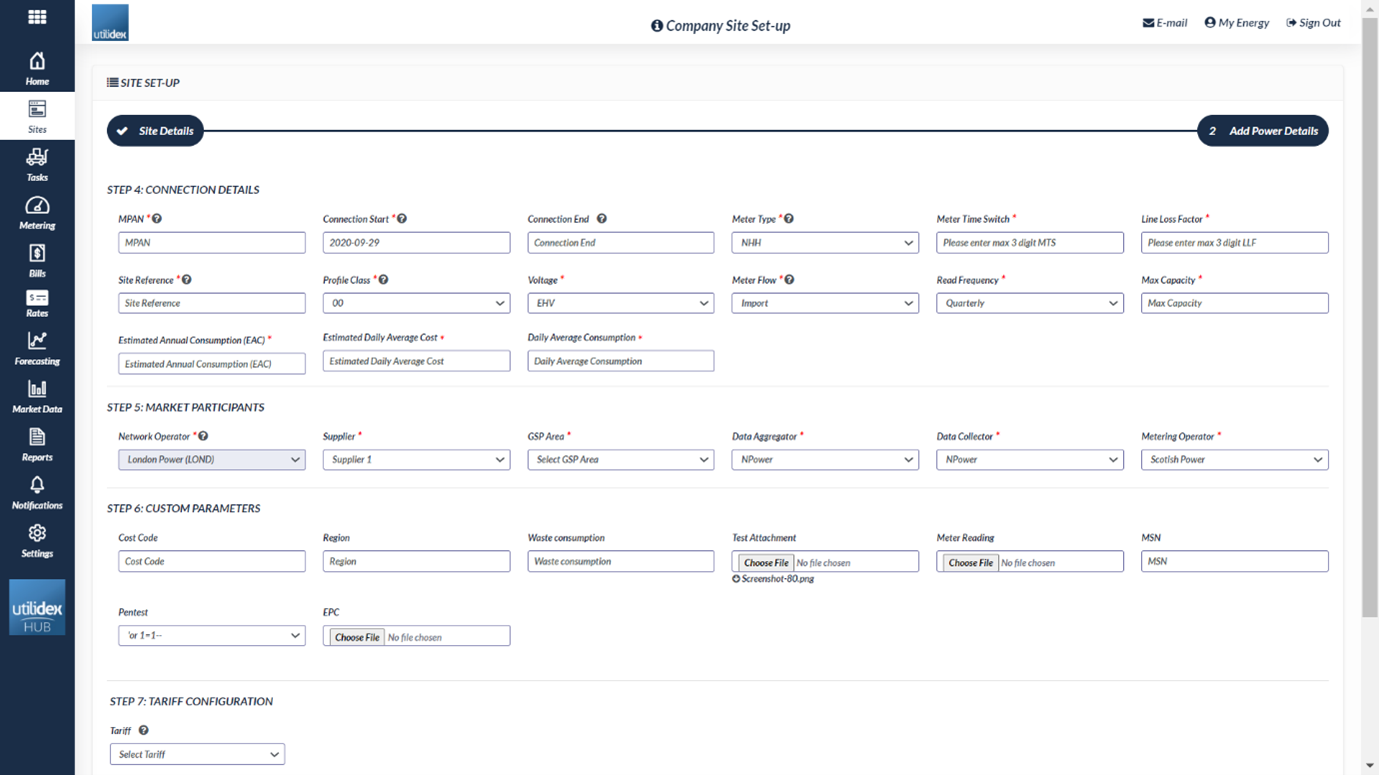
- Step 2 – Add Power/Gas Details
-
- Connection Details
- Market Participants
- Custom Parameters
- Tariff Configuration
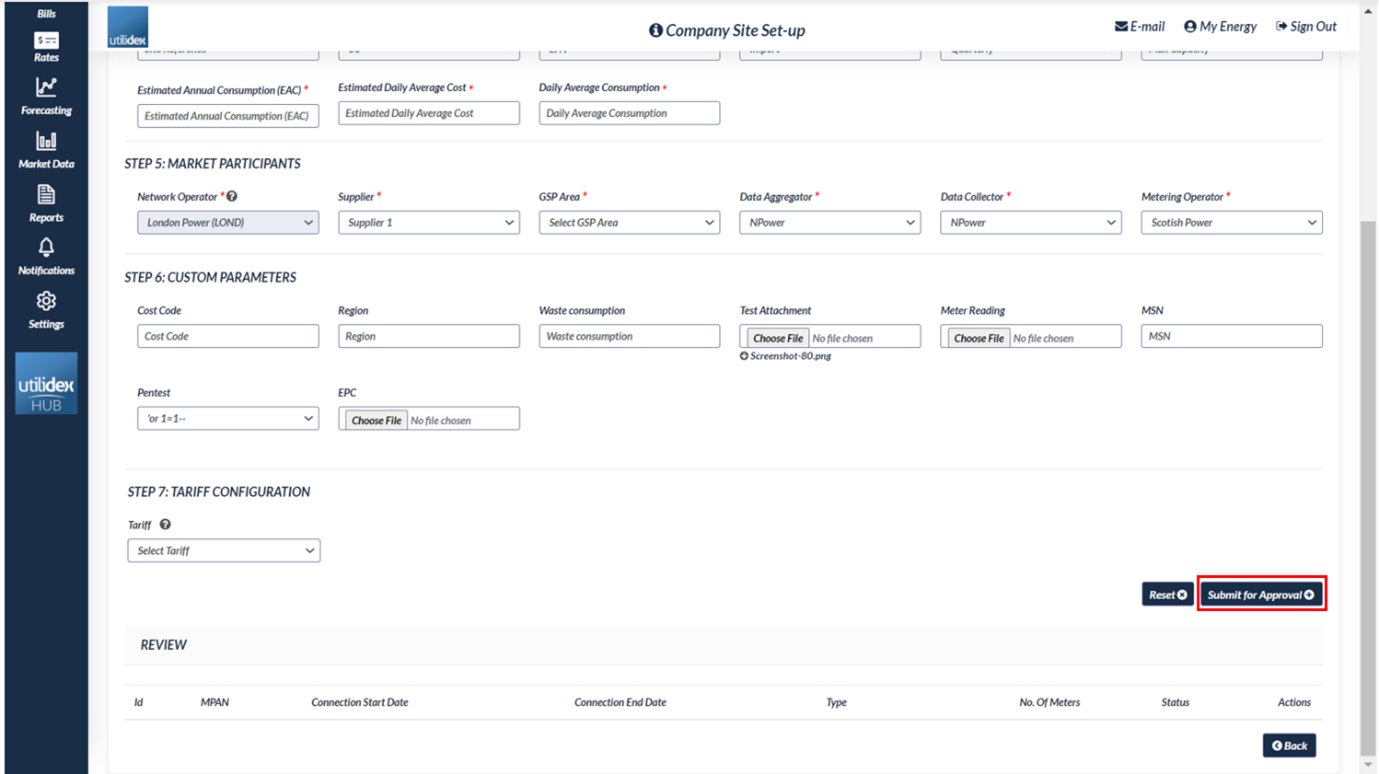
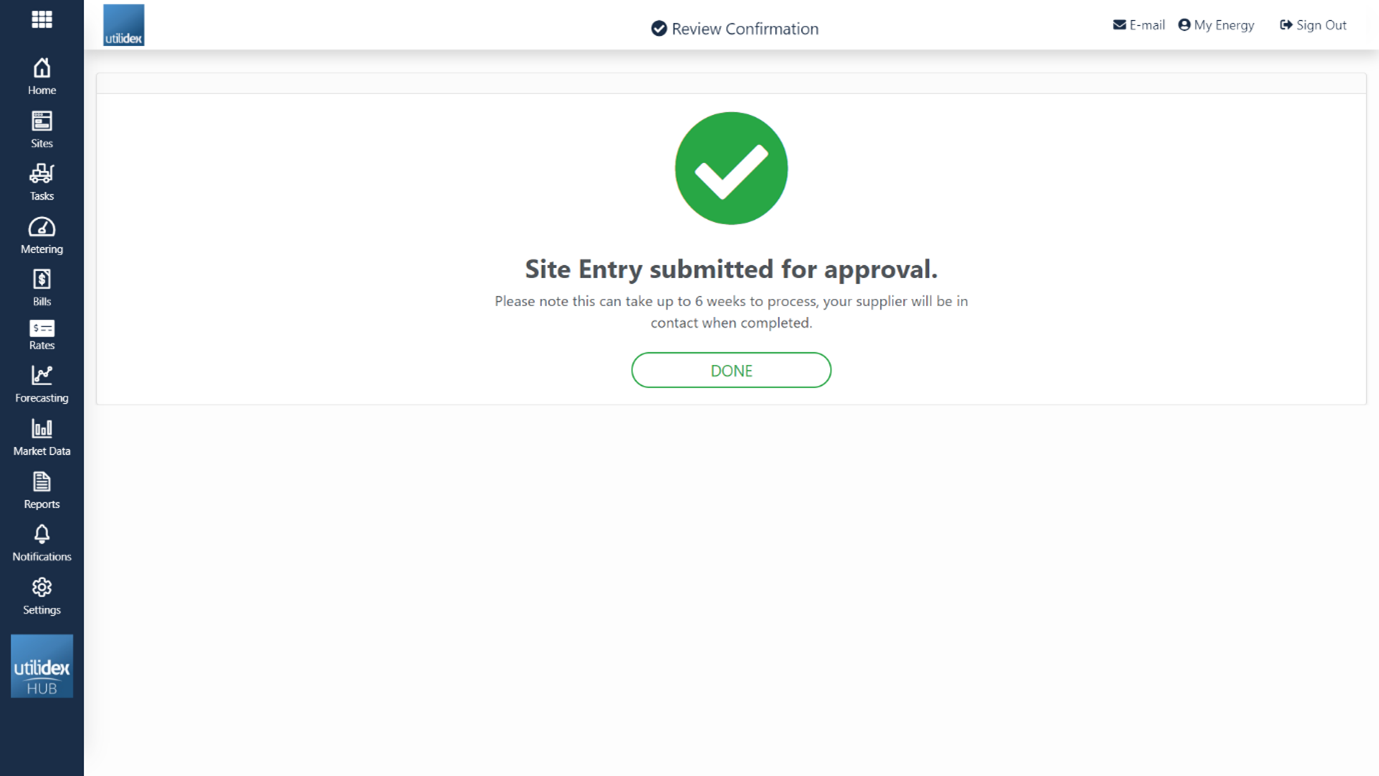
- Step 3 – Submit for Approval
- Step 4 – Select on Done button within confirmation screen.
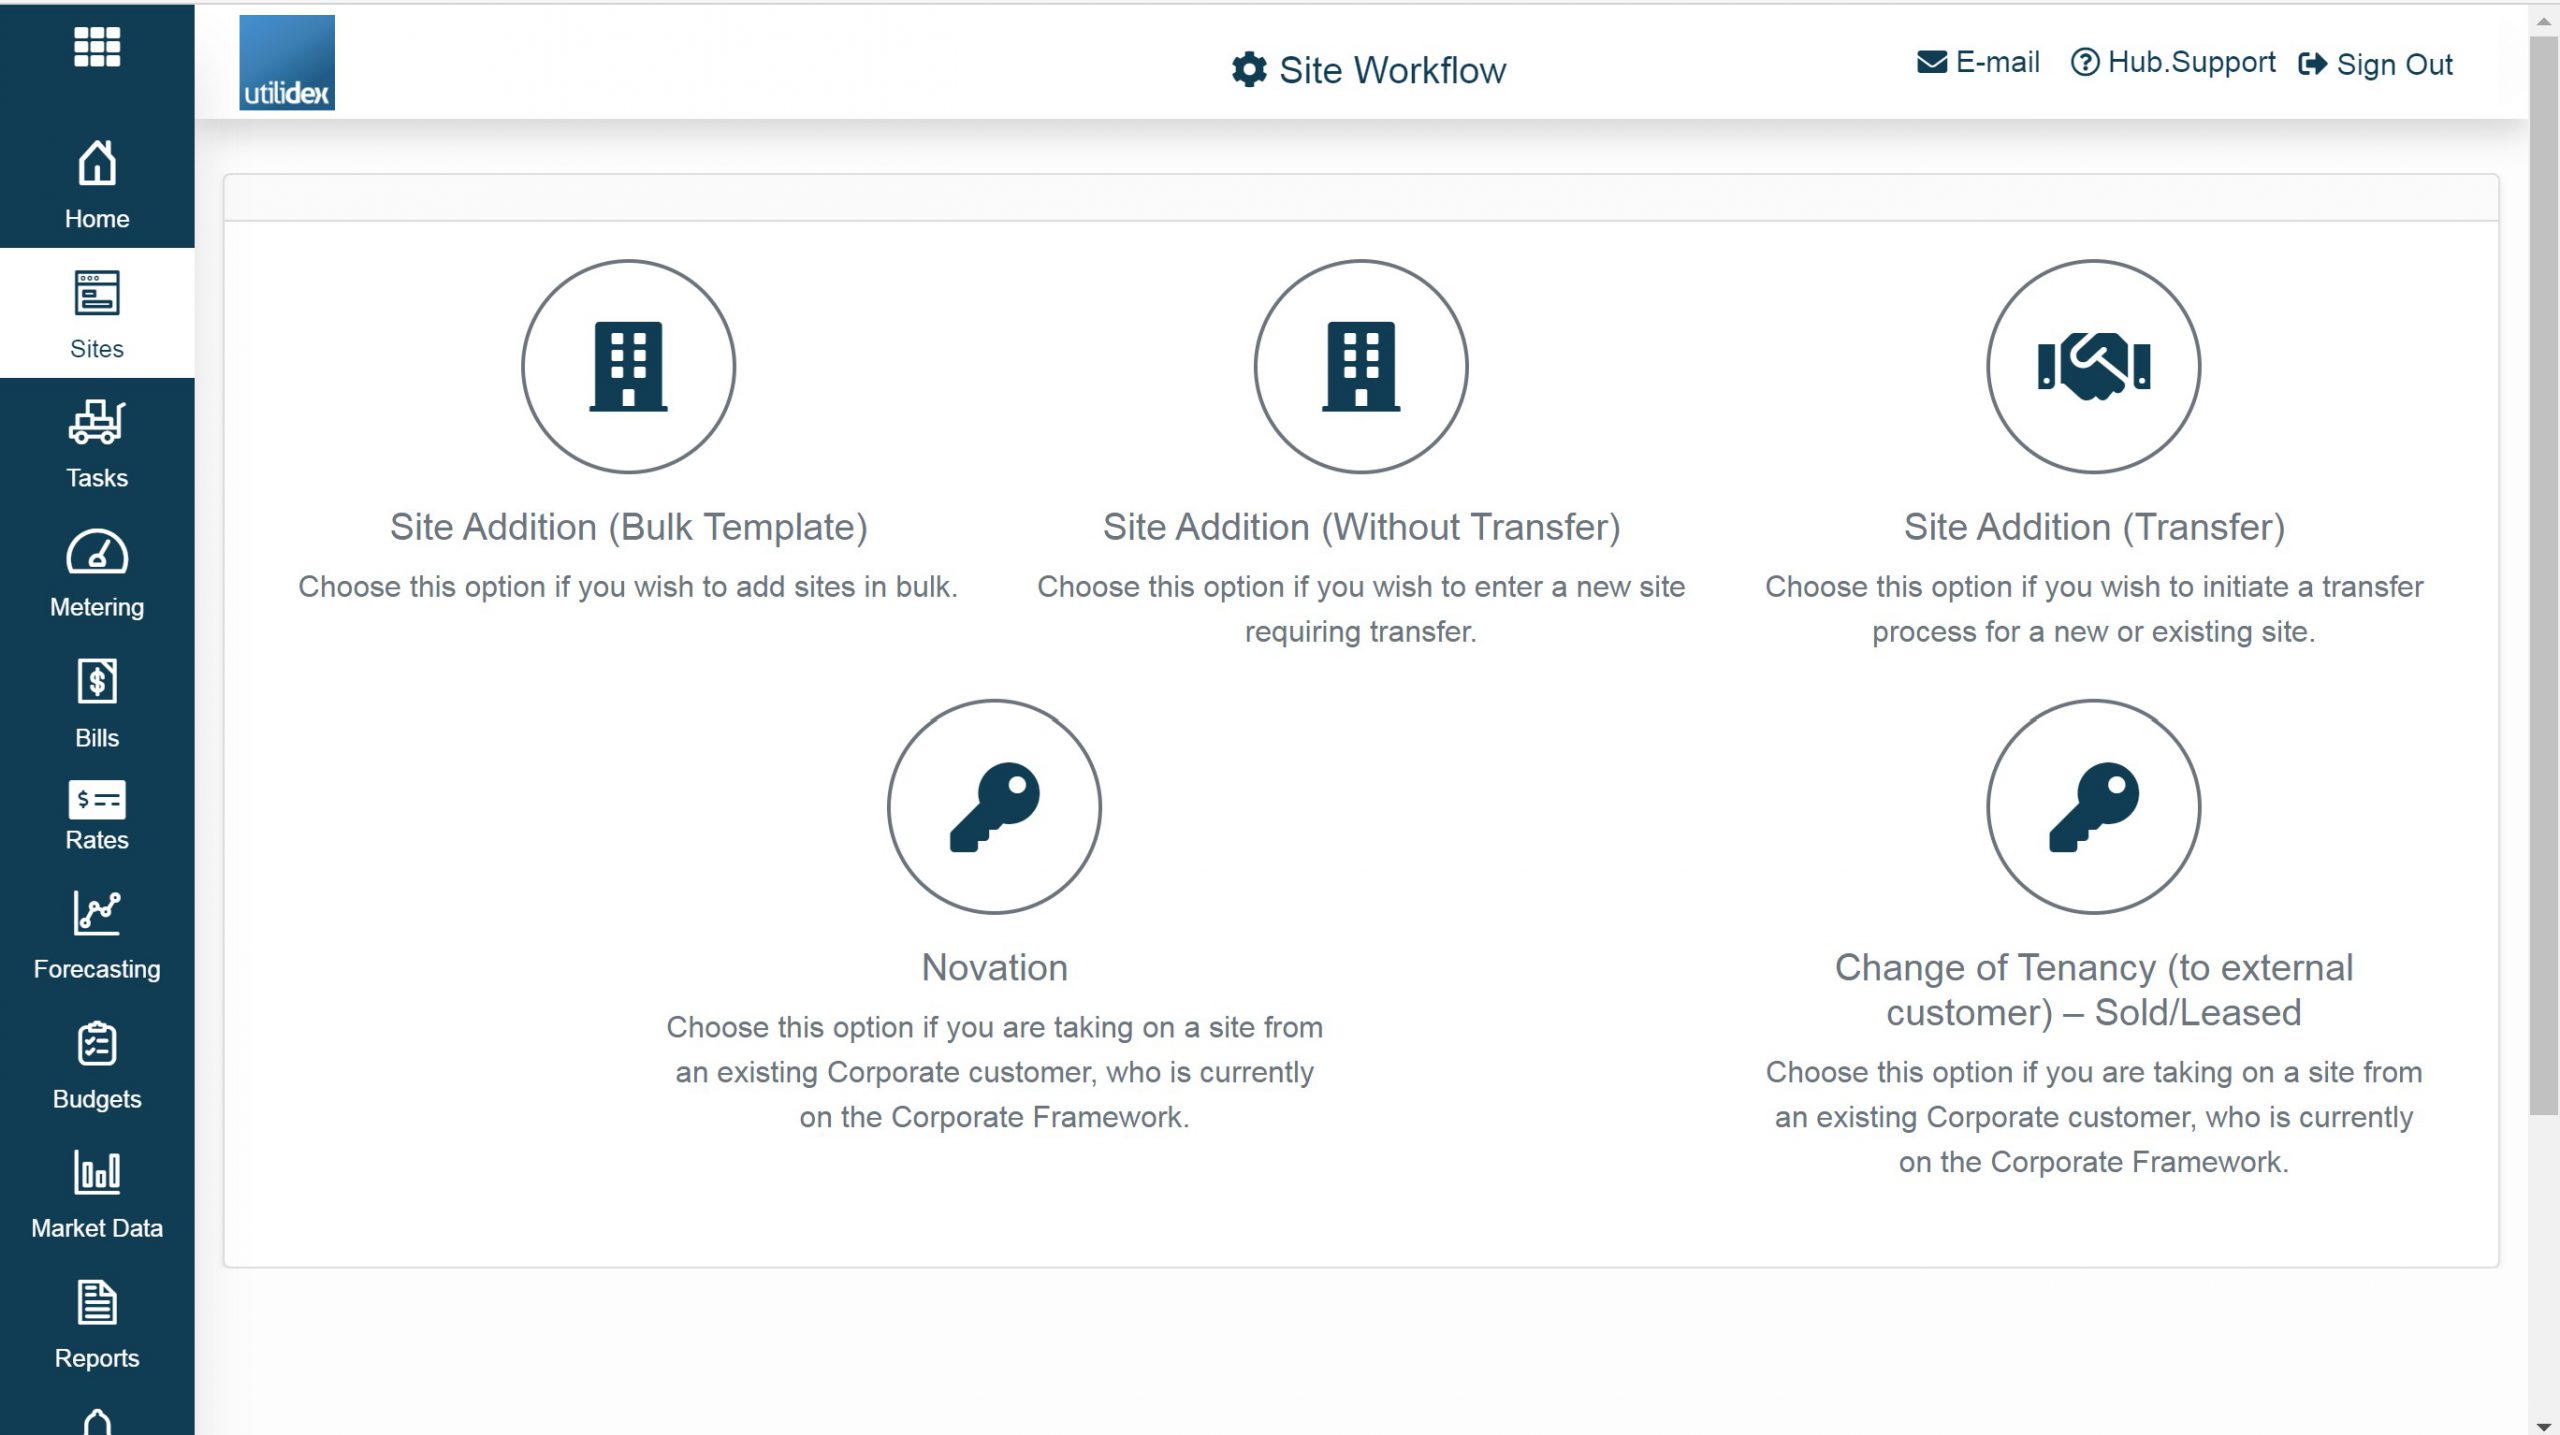
Site Addition (Bulk Template)
You can now upload your site additions in bulk with a easy to use template to save you time and effort. On the Site Wizard screen press Site Addition (Bulk Template) as shown below.
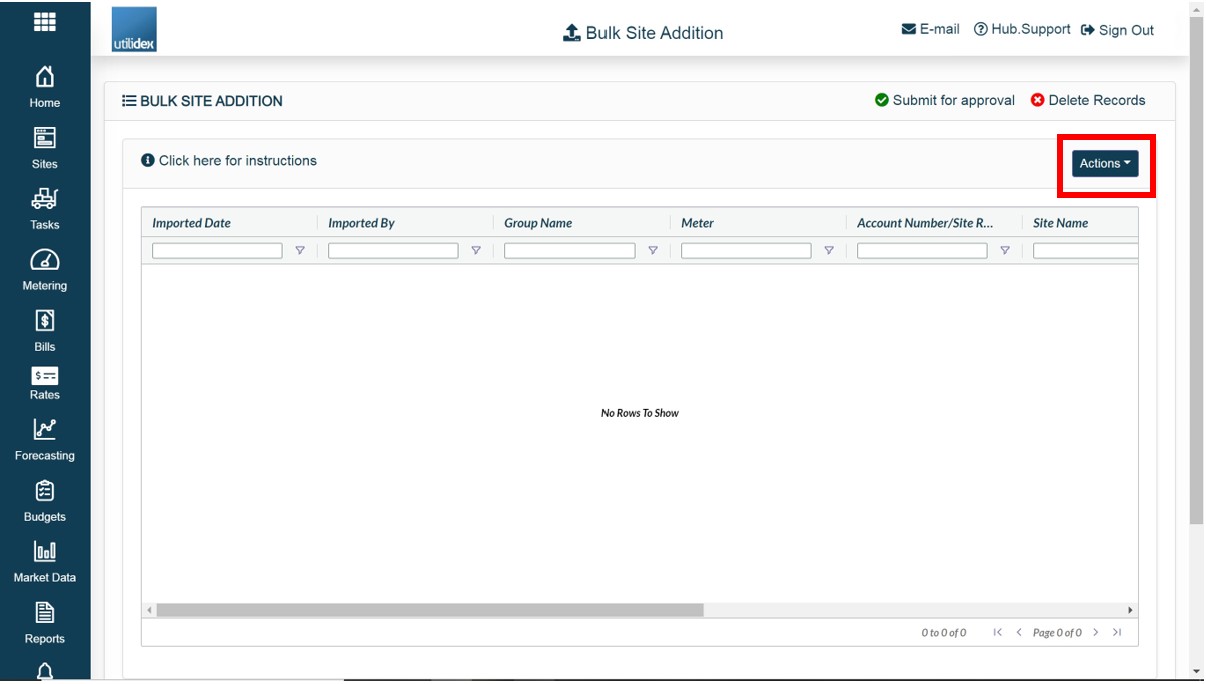
Once selecting the Site Addition (Bulk Template), you will be prompted to the screen below. Selecting the Actions dropdown will allow you to do the following:
- Download Template – Standard template to be populated with multiple site additions
- Upload Data – Populated template with new site additions
- Download Exception Report
- Audit Trail – Contains all uploads, errors and error reasons
- Clear All – Allows you to delete all records selected
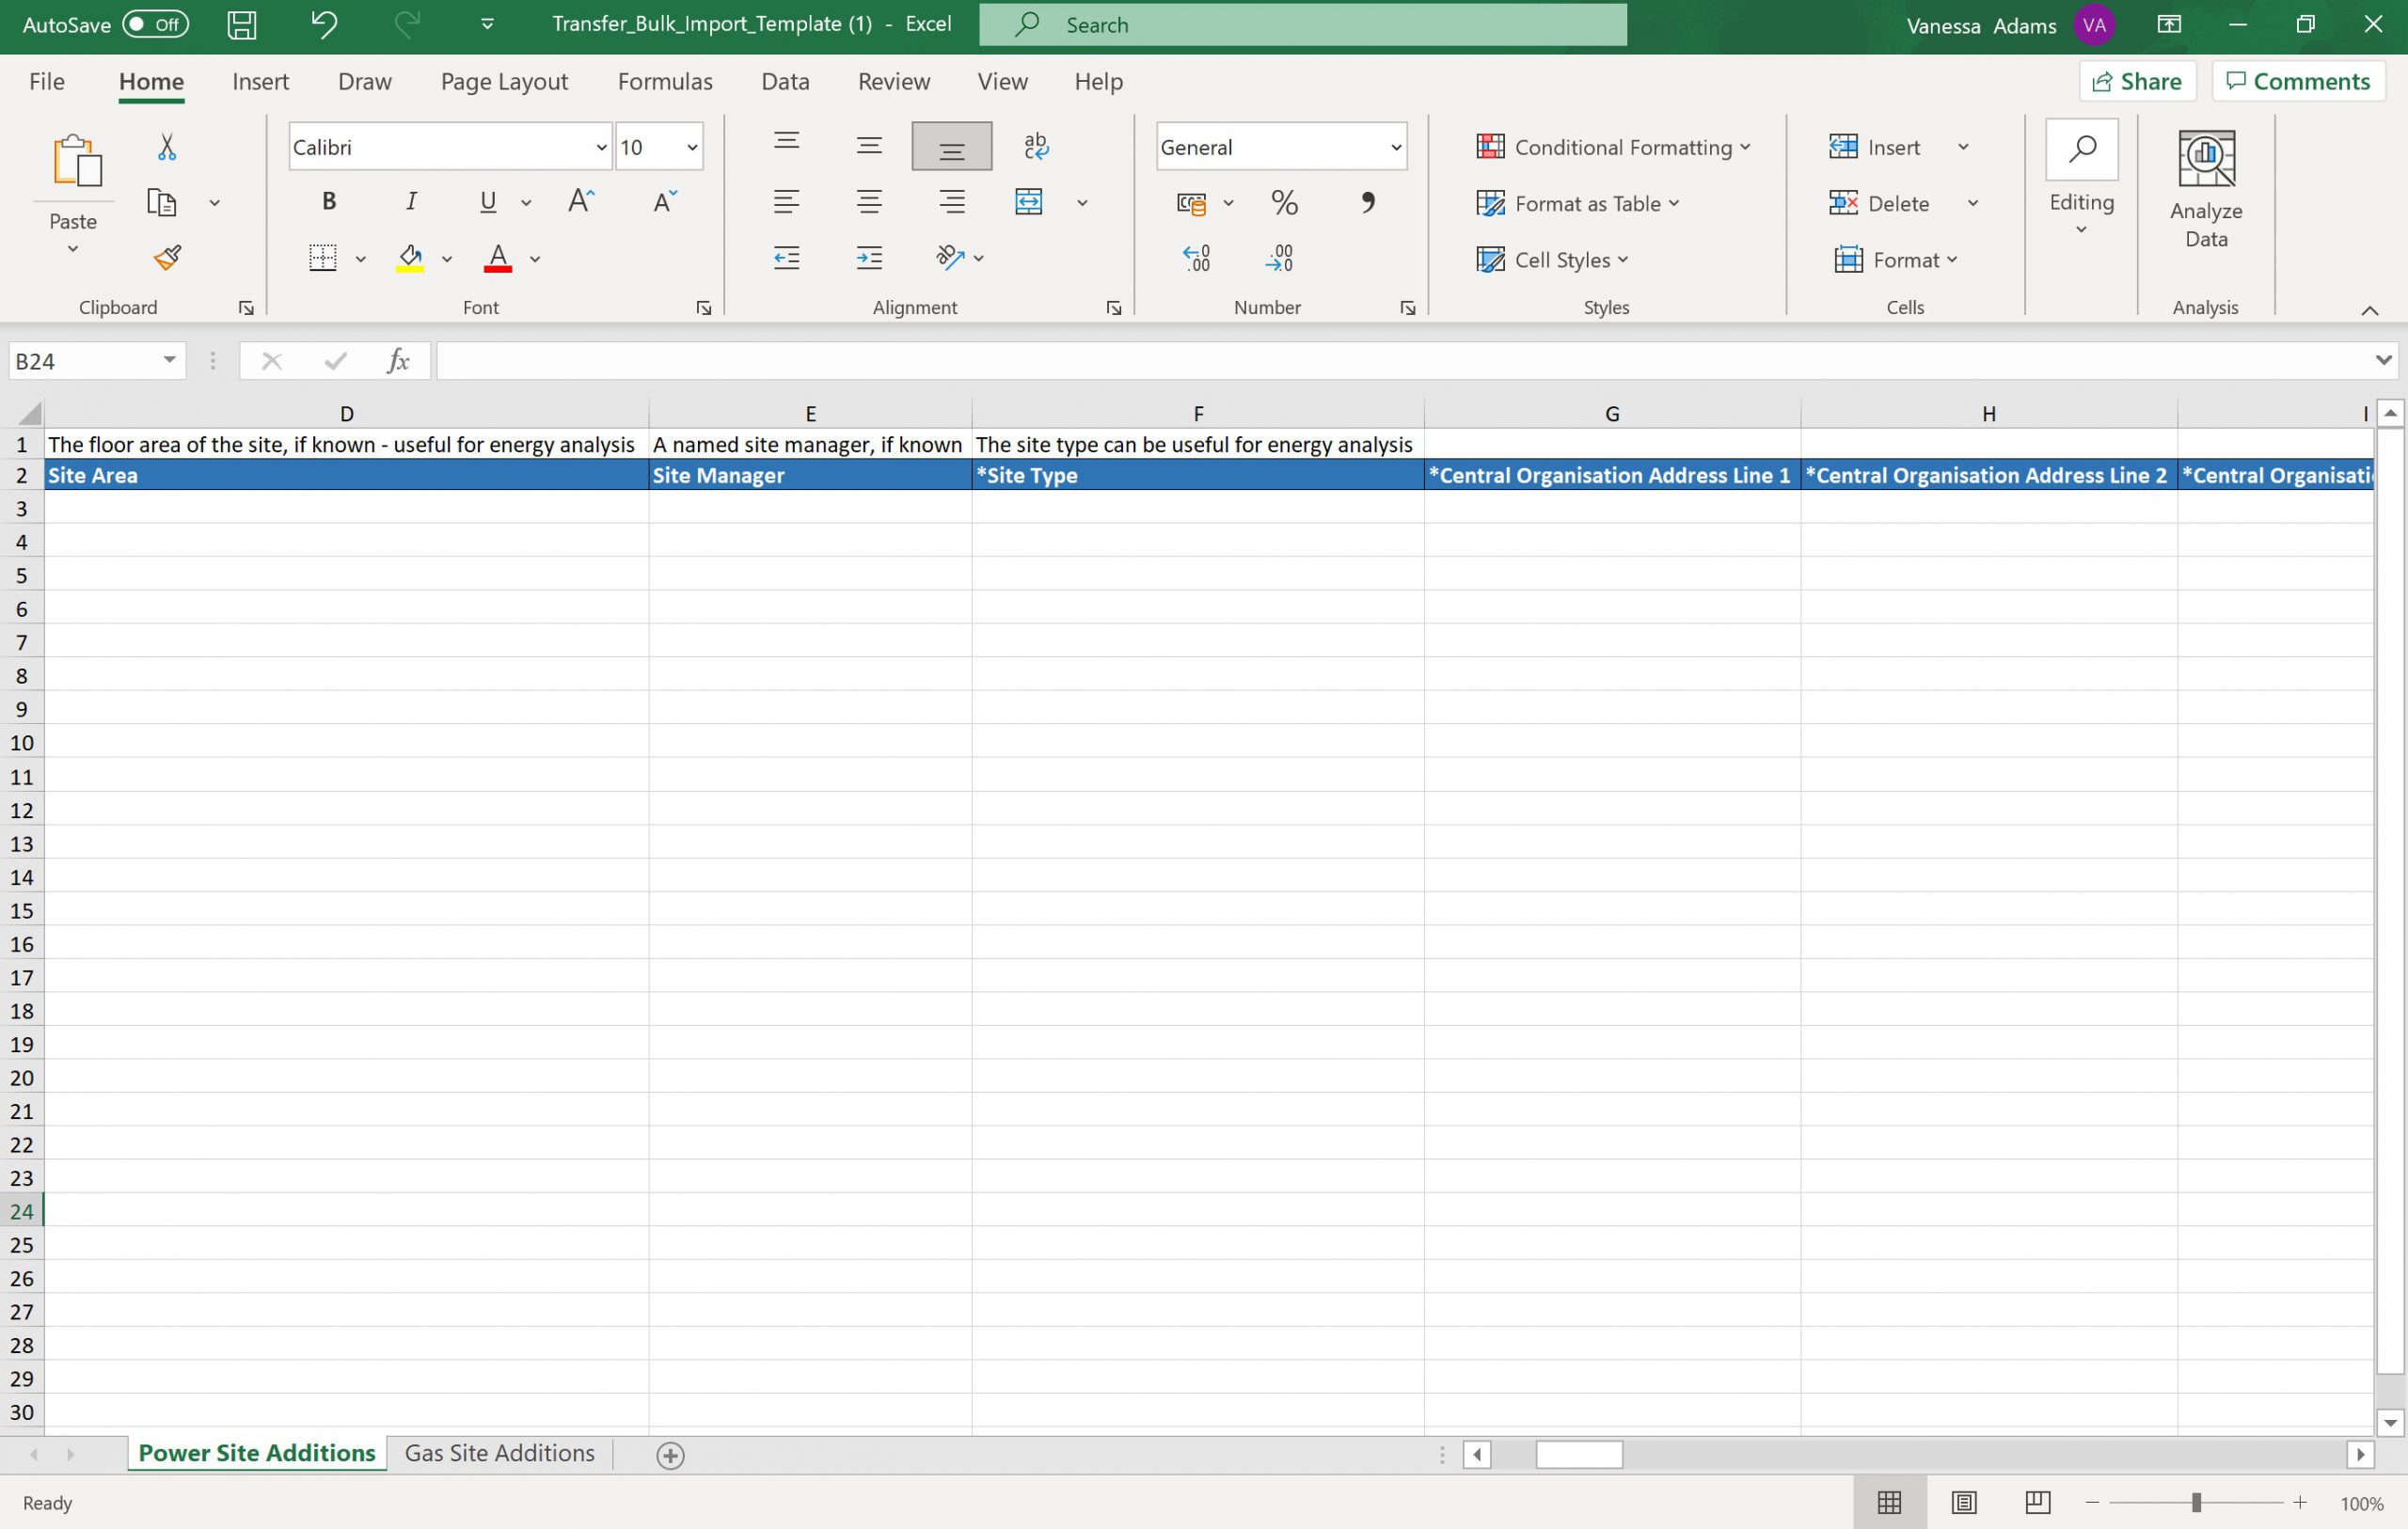
Uploading new site additions in bulk
To upload a new site addition in bulk select Download Template from the Actions dropdown. This will prompt you to fill out the template below with the criteria around site details and power/gas connection details. Each new row is considered a new site addition.
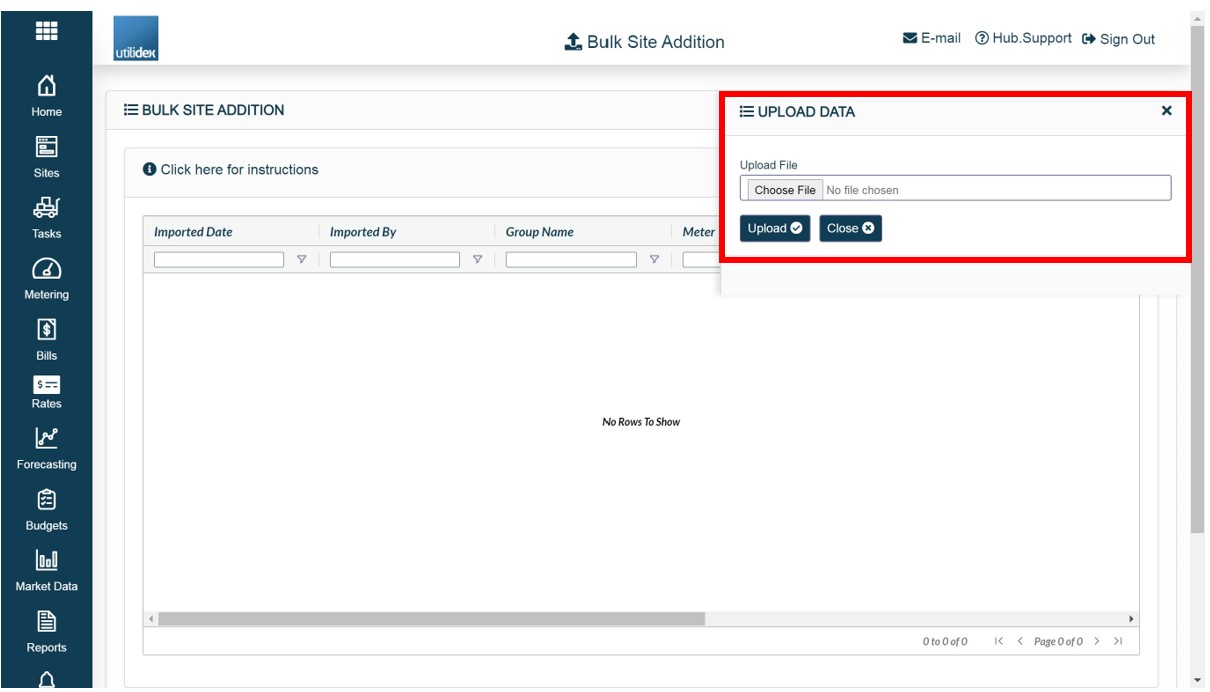
After you have completed the template, under the Actions tab select Upload Data and choose the completed file to upload. This may take a few minutes.
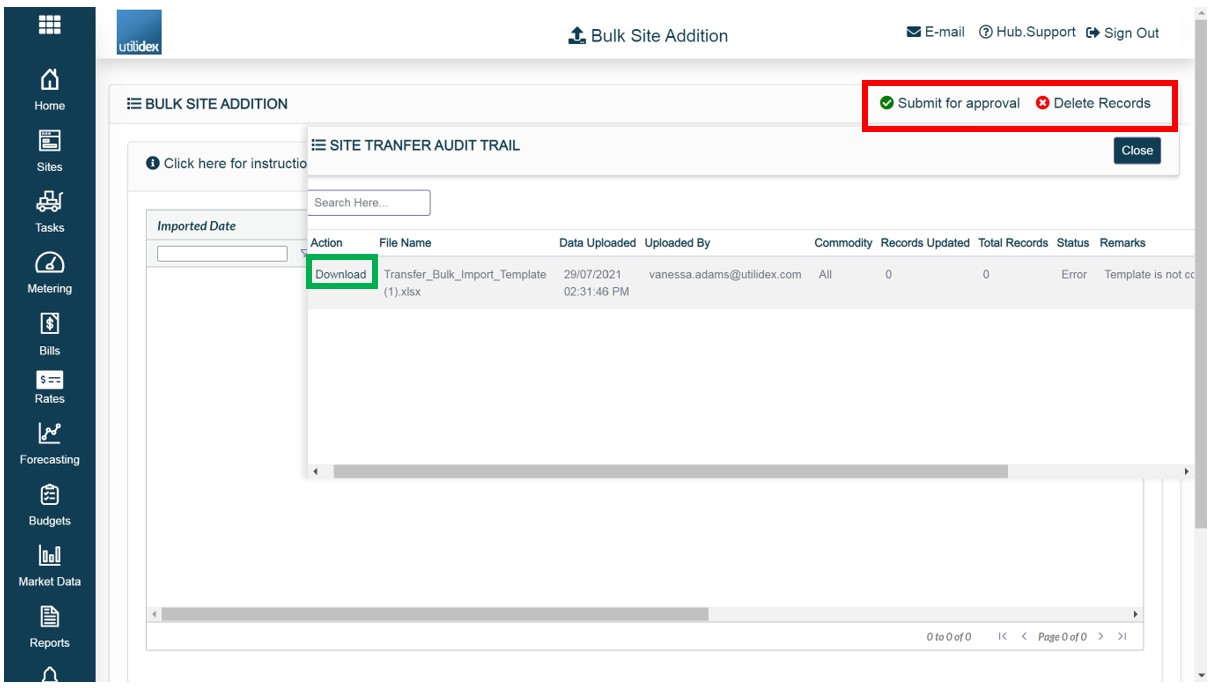
After the new file is uploaded, you can review the entries and errors under the Audit Trial. Here you will see the file name, date upload, who it was uploaded by and the status of the file. If there is an error in the file, you will see under status and remarks. You can re-download and correct the information under the download button.
Once the files are reviewed and updated, you must select Submit for approval to send the information straight to your suppliers.